Lumen Prints

Inspired by a lumen print I had seen on Twitter I decided to create two prints of my own. I think the last Lumen Print I made was in October 2019 ish...
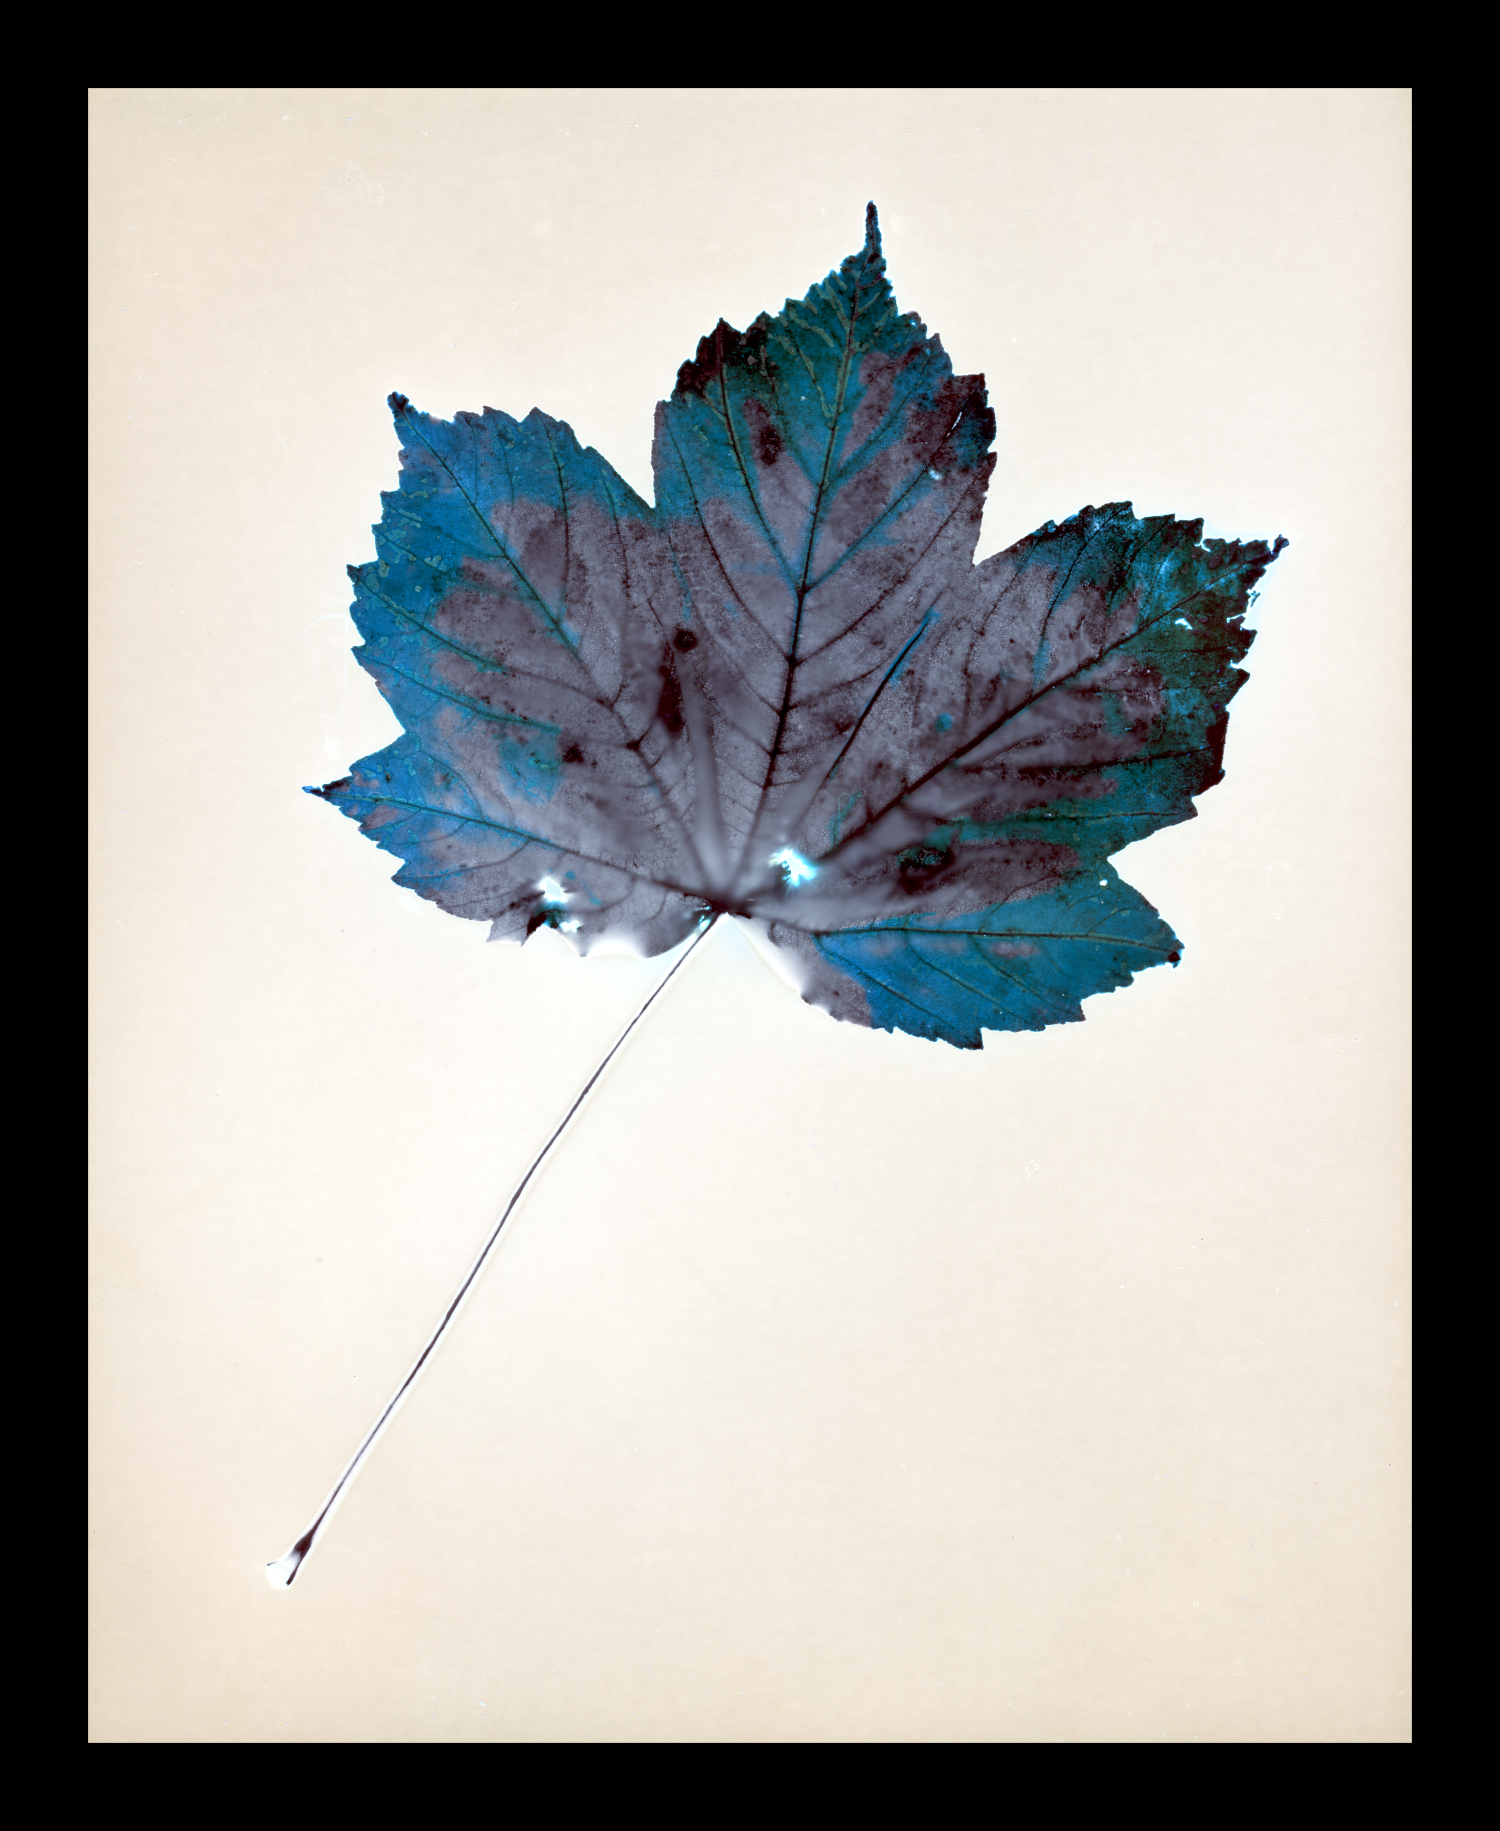
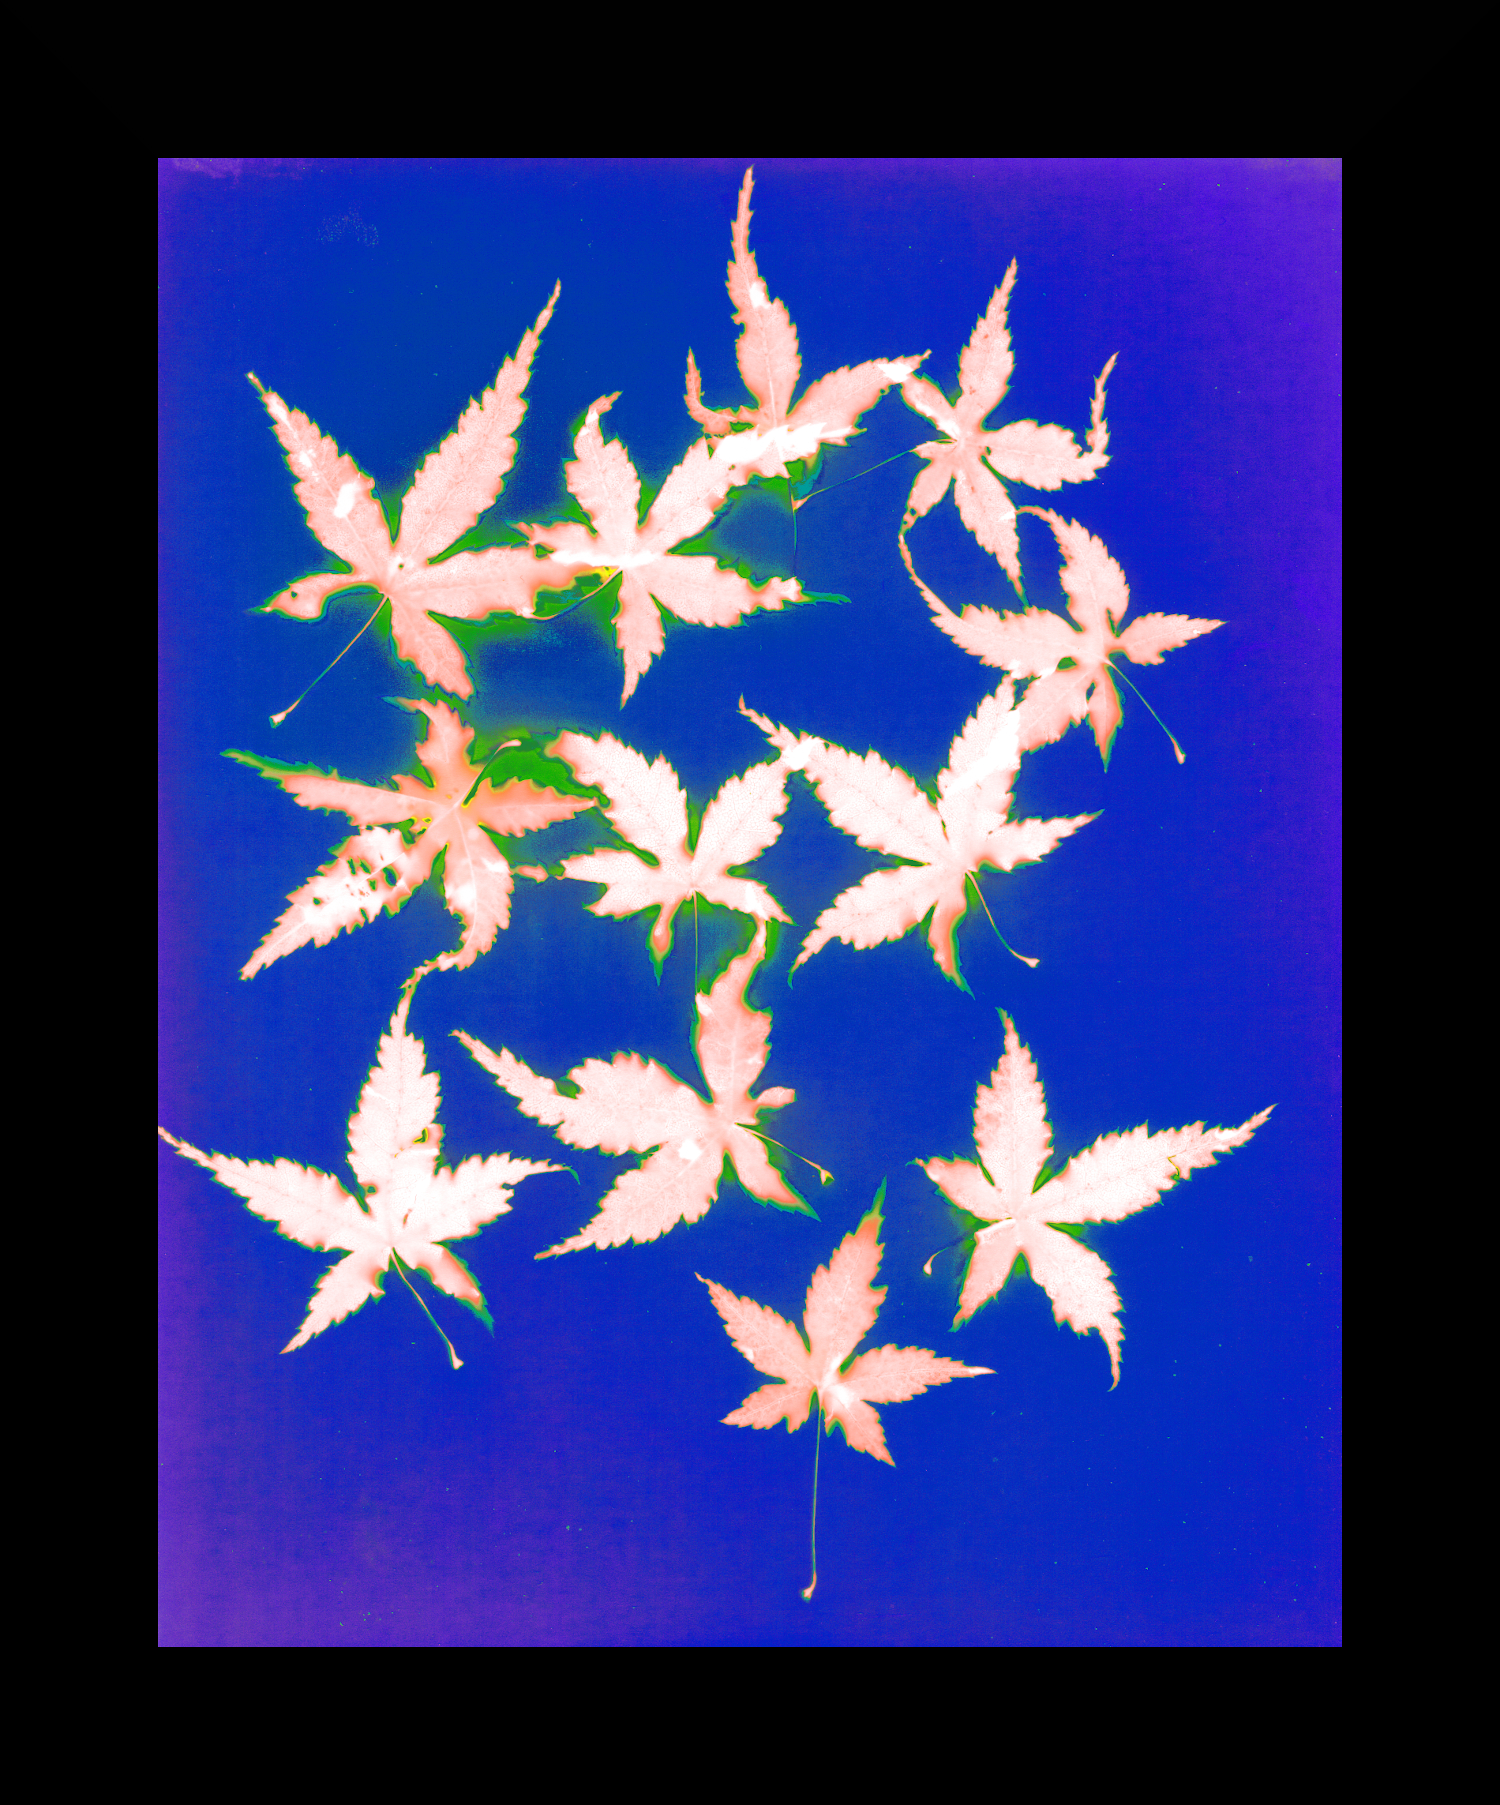
I used a few leaves from the Japanese Maple we have growing on the deck to make the first print, and for the second print a single Sycamore leaf blown from the tree.
Scotland in the autumn is usually a grey sort of affair, so instead of using sunlight to make the exposures I used my UV Lightbox that is normally reserved for my Van Dyke Brown printing.
The photographic paper I had in 10x8 size is a Fibre-Based paper by Adox. I've used expired paper in the past for this cameraless printing method. Placing the leaves quite randomly on the paper and enclosing it all in a contact printing frame, my exposure time would be similar to if I was using the sun - 50 to 60 minutes.
Once exposed, I would first scan the resulting image and edit on the computer, then I would wash the print briefly before fixing using a weak Hypo solution of Sodium Thyosulphate before washing again and drying. Unfixed the prints would continue to darken under UV based light, fixed the prints tend to loose any colour and come out quite plain.
The first print, was not as colourful as those I had made in the past - grey paper with plain white shapes where the leaves had been. I didn't hold out much hope of getting anything exciting in post-processing..! This images was fully GIMP'd as opposed to photoshopped. It shows.
The second print of the Sycamore leaf i had chosen a leaf that was quite damp from the rain. Using water like this can affect the colouration and reaction with the photo-paper. Just enough dampness, not dripping. I used the same paper and same exposure times.
A much better result. With clear image of the veins within the leaf and some colouration on the paper too. In post I inverted the image, before using the Levels slider to bring the white/black points to the range of the image. Much more pleasing result.
